The Ultimate Guide to Designing an ADA Compliant Bathroom: Tips for Safety and Accessibility
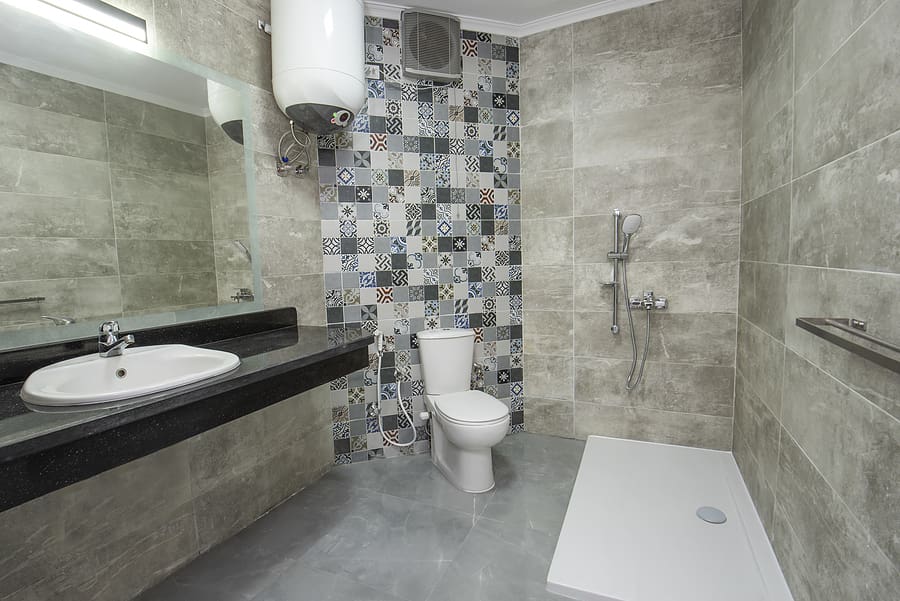
Designing a bathroom that complies with the Americans with Disabilities Act (ADA) is essential for ensuring safety and accessibility for people with disabilities. Whether you’re remodeling a home or designing a public restroom, understanding the ADA standards is crucial for creating a functional space that meets the needs of everyone. This guide will walk you through key ADA requirements and tips for designing an ADA-compliant bathroom that prioritizes both safety and accessibility.
Understanding the Americans with Disabilities Act (ADA)

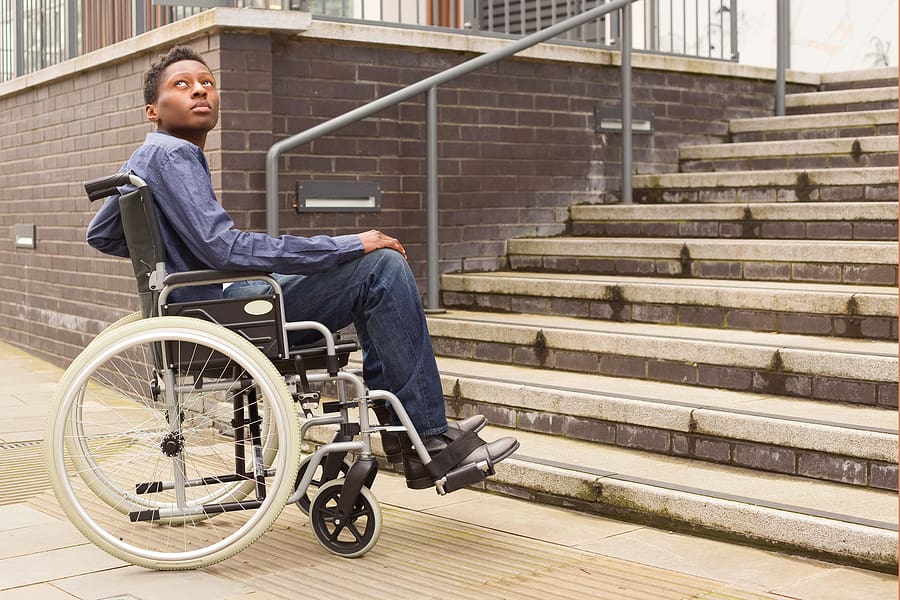
The ADA was established to ensure that individuals with disabilities have the same rights and opportunities as everyone else. This includes access to public facilities, housing, and bathrooms. Following ADA standards for bathroom design ensures that you meet the legal requirements while also creating a space that is safe and functional for people with disabilities.
Key ADA Standards for Bathrooms
1. Accessible Toilet Requirements
The ADA specifies that accessible toilets must provide enough space for wheelchair users and should be easy to use. Here are some important guidelines:
- Floor space: An accessible toilet should have at least 60 inches wide by 56 inches deep of floor space to allow for wheelchair maneuvering.
- Height: The toilet seat should be 17 to 19 inches high from the floor to accommodate easy transfers from a wheelchair.
- Grab bars: Install grab bars on the side wall and rear wall, with the sidebar positioned 33 to 36 inches from the floor and at least 12 inches from the rear wall.
- Weight capacity: Grab bars must support at least 250 pounds to ensure safety.
2. Sink and Vanity Specifications
Sinks must be easily accessible and usable for individuals with mobility challenges. ADA-compliant sinks should meet the following standards:
- Height: The sink should be no higher than 34 inches from the floor.
- Knee clearance: Provide at least 27 inches of knee clearance underneath the sink for wheelchair access.
- Depth: Ensure that the sink is no more than 24 inches deep to allow full reach from a seated position.
3. Shower Design for Accessibility

ADA standards for showers ensure that they can be used by everyone, regardless of mobility limitations. Key requirements include:
- Roll-in showers: These should be at least 60 inches wide and 36 inches deep, allowing sufficient room for a wheelchair user to enter and exit.
- Grab bars: Like toilets, showers must also include grab bars, installed 33 to 36 inches from the floor. Bars should be placed along the back and side walls for support.
- Shower seats: If installed, these must be foldable and able to support at least 250 pounds.
4. Doorway and Maneuvering Clearances
Clearance around the doorways and inside the bathroom is essential for ADA compliance. Make sure the door:
- Has a clear width of at least 32 inches to accommodate a wheelchair.
- Has an unobstructed space of 48 inches in front of the door for easy maneuvering.
- Swings outward, allowing easier access in emergencies.
5. Grab Bar Placement and Installation
Grab bars are one of the most critical components of an ADA-compliant bathroom. Proper placement ensures safety and ease of use:
- Install grab bars at a height of 33 to 36 inches from the floor.
- The bar should be at least 42 inches long on the side wall adjacent to the toilet and 36 inches long on the rear wall behind the toilet.
- Ensure grab bars are securely fastened to support a weight of at least 250 pounds.
6. Turning Radius and Open Floor Space
Bathrooms need to provide adequate open space to allow wheelchair users to turn and maneuver comfortably:
- Turning radius: A 60-inch diameter circular space should be free of obstructions to allow a full 180-degree turn for wheelchair users.
- Open side: At least one side of the toilet or sink must remain open to provide easy access for wheelchairs.
Additional ADA Compliance Tips

Choosing the Right Materials
Use slip-resistant flooring to prevent accidents. This is especially important in wet areas like around the shower or sink. Textured tiles or vinyl flooring are excellent choices.
Automatic Faucets and Controls
For ease of use, opt for automatic or lever-handle faucets that can be operated with minimal effort. Consider installing motion-activated faucets, which are more convenient and reduce physical strain for people with disabilities.
Lighting and Visibility
Ensure the bathroom is well-lit to assist individuals with visual impairments. Use contrasting colors to differentiate between different bathroom fixtures (e.g., toilet, sink, grab bars) to improve visibility.
Designing an ADA-compliant bathroom involves careful attention to specific dimensions, clearances, and fixtures that accommodate people with disabilities. By adhering to these guidelines, you can create a safe and accessible bathroom that provides comfort for everyone. Whether you’re designing for a home or public facility, following these tips ensures compliance with the Disabilities Act and enhances the quality of life for people with disabilities.
